Work
LumaID
Photoprojector
Darkroom Workbench
A-hub
MXDVS
PUK
Park Bench
Voronoi Lamp
Beamer
Photography
Plexi Stad
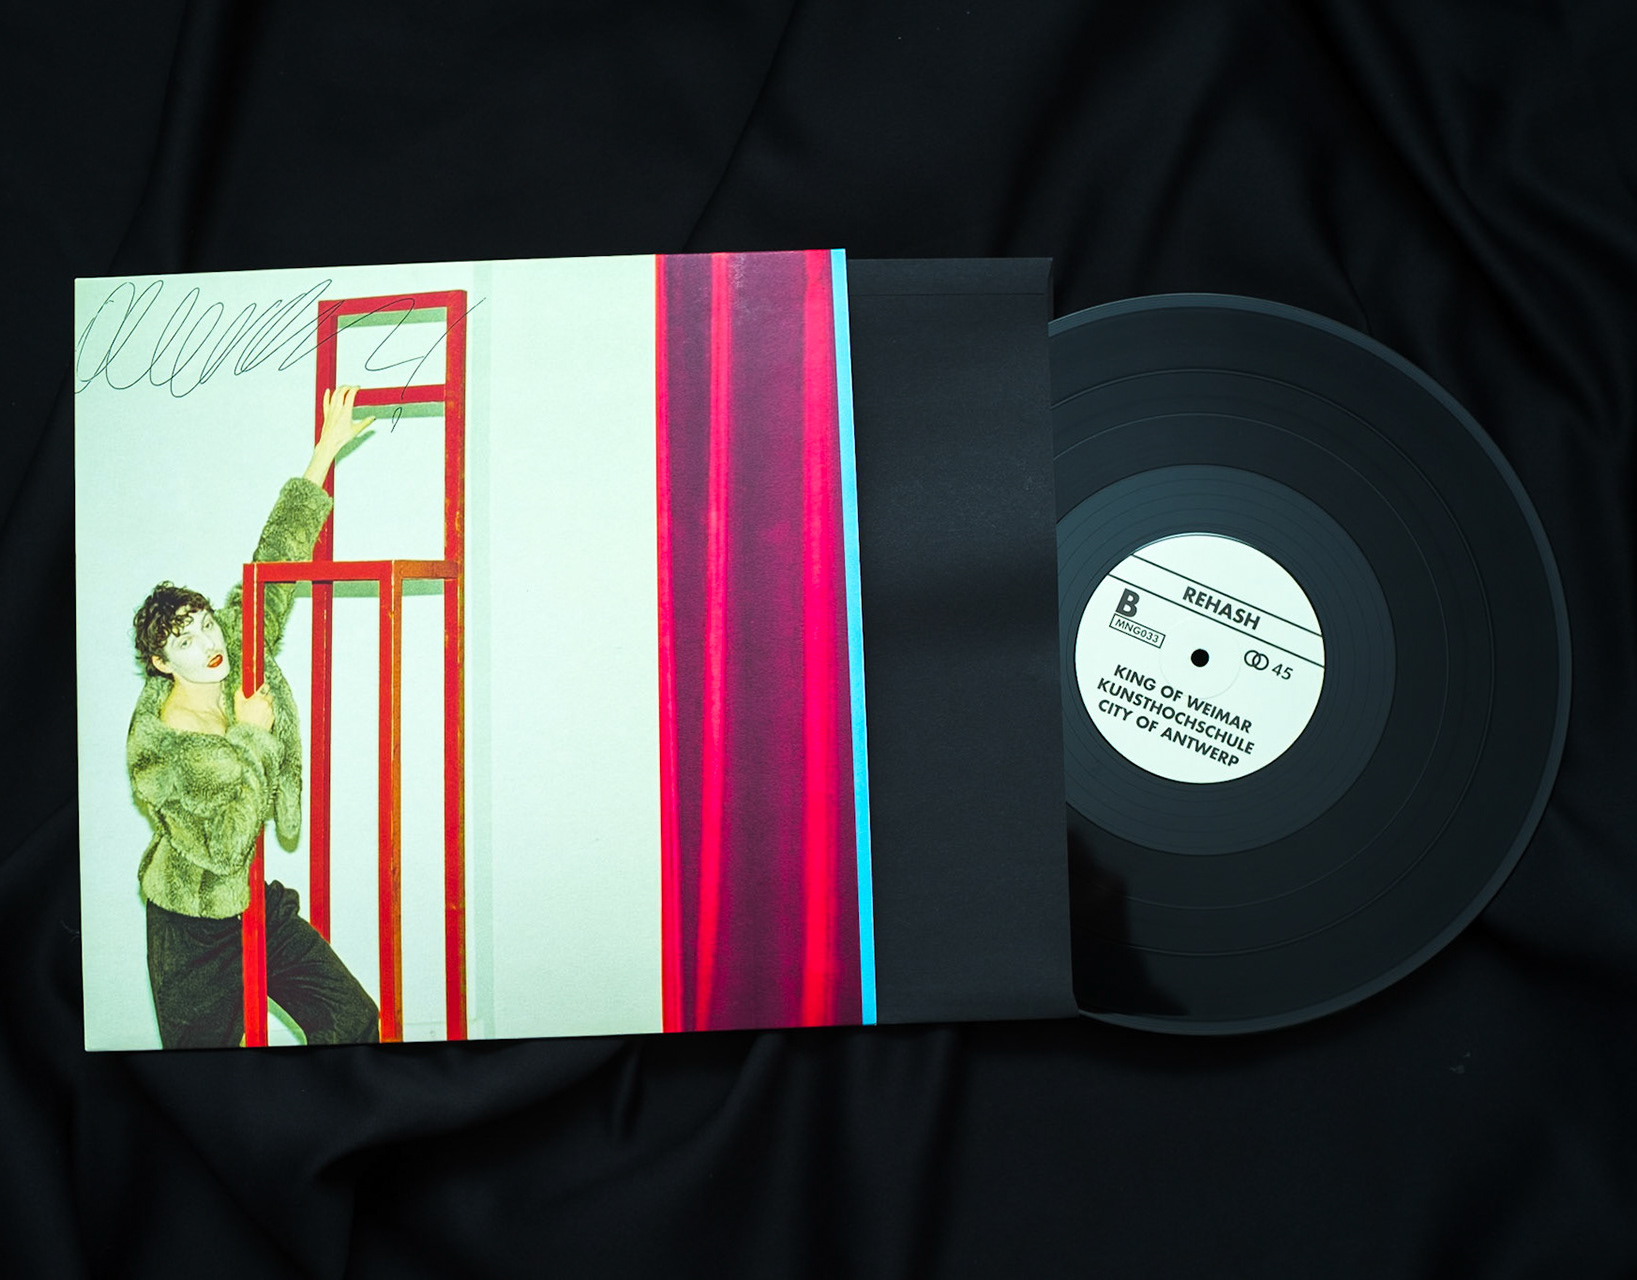
Rehash
Nadav Perlman
ALAS!
Kié Einzelgänger
Various
Interior
About me
About me
CV
Sem Beerens
Work
LumaID
Photoprojector
Darkroom Workbench
A-hub
MXDVS
PUK
Park Bench
Voronoi Lamp
Beamer
Photography
Plexi Stad
Rehash
Nadav Perlman
ALAS!
Kié Einzelgänger
Various
Interior
About me
About me
CV
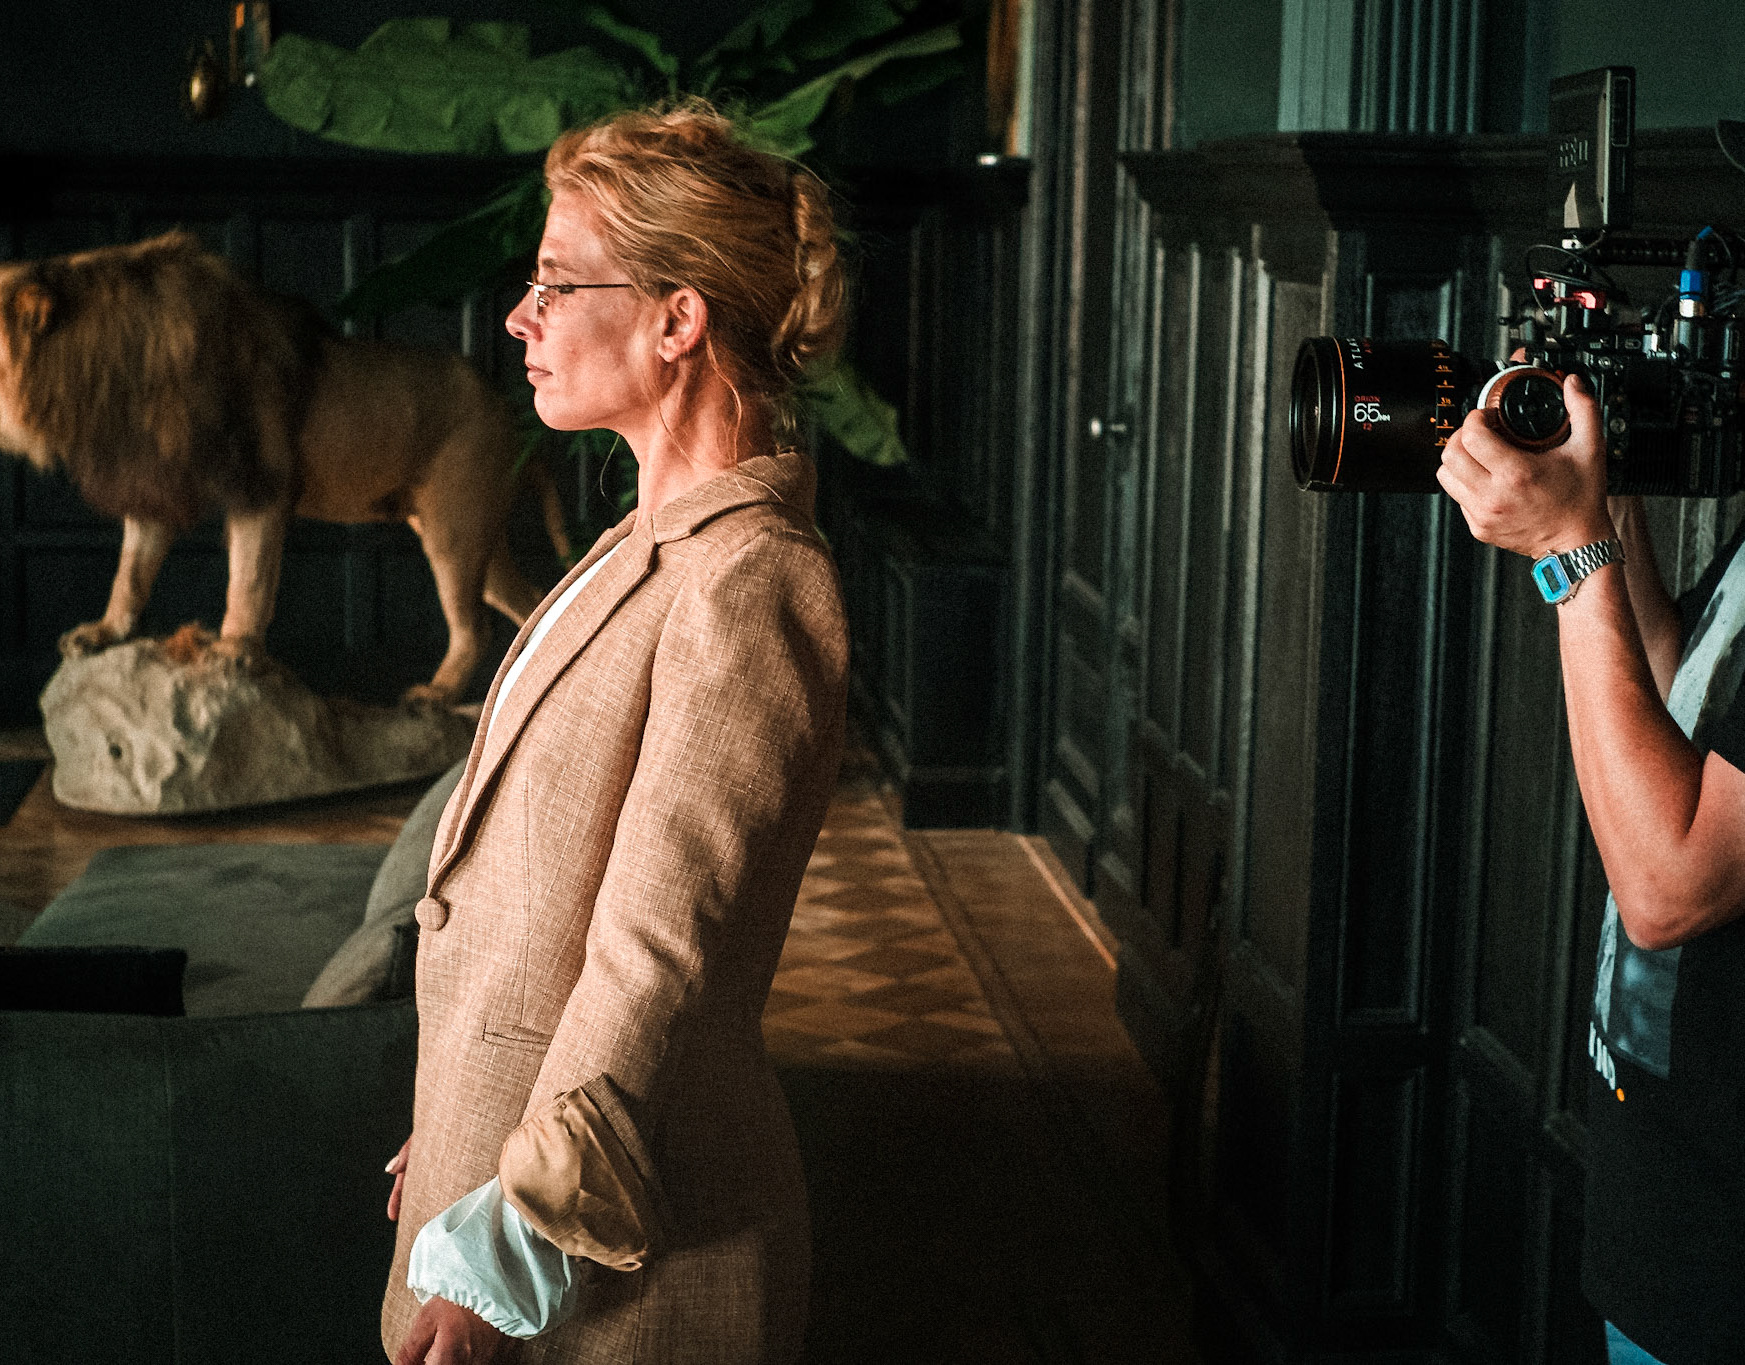
ALAS!
Photos from collaborations with, and documentation of Sean Peleman.
A Man in a Room - Exhibition
Are you still watching?
- Documentation
You may also like
Plexi Stad
2024
Kié Einzelgänger
2025
Interior
2025
Nadav Perlman
2024
Various
2025
Rehash
2024
↑
Back to Top